- Messages
- 11,967
- Name
- Garry
- Edit My Images
- No
Today's picture is brought to you by the colours red and yellow.

Sad Clown in Chinatown by Garry Knight, on Flickr

Sad Clown in Chinatown by Garry Knight, on Flickr

Not exactly, George. I originally took it using a mono preset in Hipstamatic but liked the raw photo more, so I ran it through Snapseed for a couple of tweaks, then into Hipstamatic to use the Love 81 film from the Cinematic preset, but with a different lens - I forget which. Then into Affinity Photo 2 to apply a gradient lens blur. More work than I'd usually do, but I felt it was worth it.
Bad case of boredom by the look of things.
That's very interesting Garry, seems quite a bit of work but the unique style certainly pays dividends. I didn't realise that one could use the Hipstamatic App for adding presets as well as a bit of PP.

 www.mobiography.net

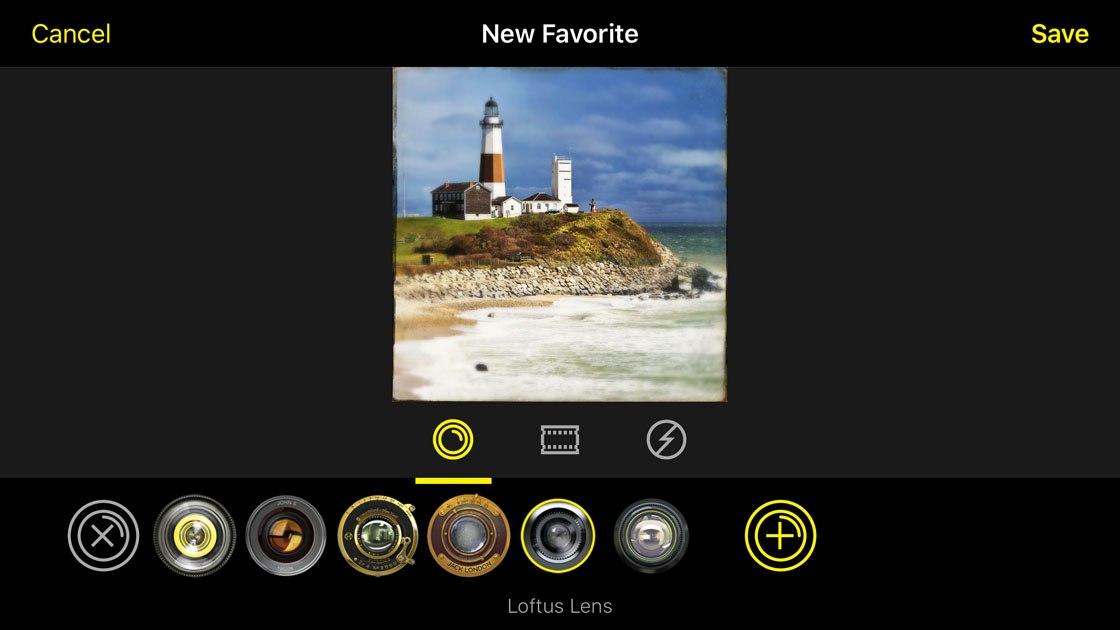
Not only adding presets but adding a choice of lens, film, and flash separately. And editing the result. These two web pages give you a pretty full run-down on using Hipstamatic, including editing photos after you've taken them, whether you took them with the Hipstamatic app, another app, or even another camera. I think I've shared these before, but it's worth bookmarking them and then coming back to them from time to time to see what else is useful. One extra tip from me: photos shot with Halide and edited in Hipstamatic can give excellent results. All the clarity and sharpness of Halide with all the fun and quirkiness of Hipstamatic.

How to Use Hipstamatic App to Shoot Creative iPhone Photos
Discover how to use the Hipstamatic App to shoot creative iPhone photos. Find out how to select film/lens combos and edit your photos like a prowww.mobiography.net

How To Use Hipstamatic App To Shoot Unique iPhone Photos
Learn how to use the Hipstamatic app to shoot and edit stunning iPhone photos with a wonderful retro or vintage style.iphonephotographyschool.com
Bad case of boredom by the look of things.
"Incidentally how are you getting on with the "Halide" app and in your opinion is it better than "ProCamera"?
I haven't used it very much yet. Just after I paid out all that money, I had a look at the app and wondered if I'd made the right decision. It seemed to be short a few features compared to ProCamera.
But after looking at a couple of the HEICs it produced, I realised that it doesn't pass the image data through Apple's processing engine - you know, the one that makes iPhone jpegs flat and a little cartoony. It just grabs a high res image from the sensor.
It also takes ProRaw and has an extra setting to get even better jpegs called, strangely, RAW+ Coverage. About that, it says in the settings, "Coverage can get the best possible shots, but takes longer to take two photos. This makes capturing images slower, but JPG images significantly higher quality. This setting has no effect when shooting ProRAW."
Anyway, I'm impressed with the quality of images I've got so far, I just need to get more. I don't know whether I can recommend it to others. Depends on whether you're prepared to lose a few features and pay a lot of money (around £50, I think) for something that just gives you excellent photos with no bells and whistles.
Oh, one other thing: it not only allows you to choose between the 0.5x, 1.0x, and 3.0x lenses, it has its own depth-aware mode similar to Apple's Portrait mode. I haven't played with this much.
